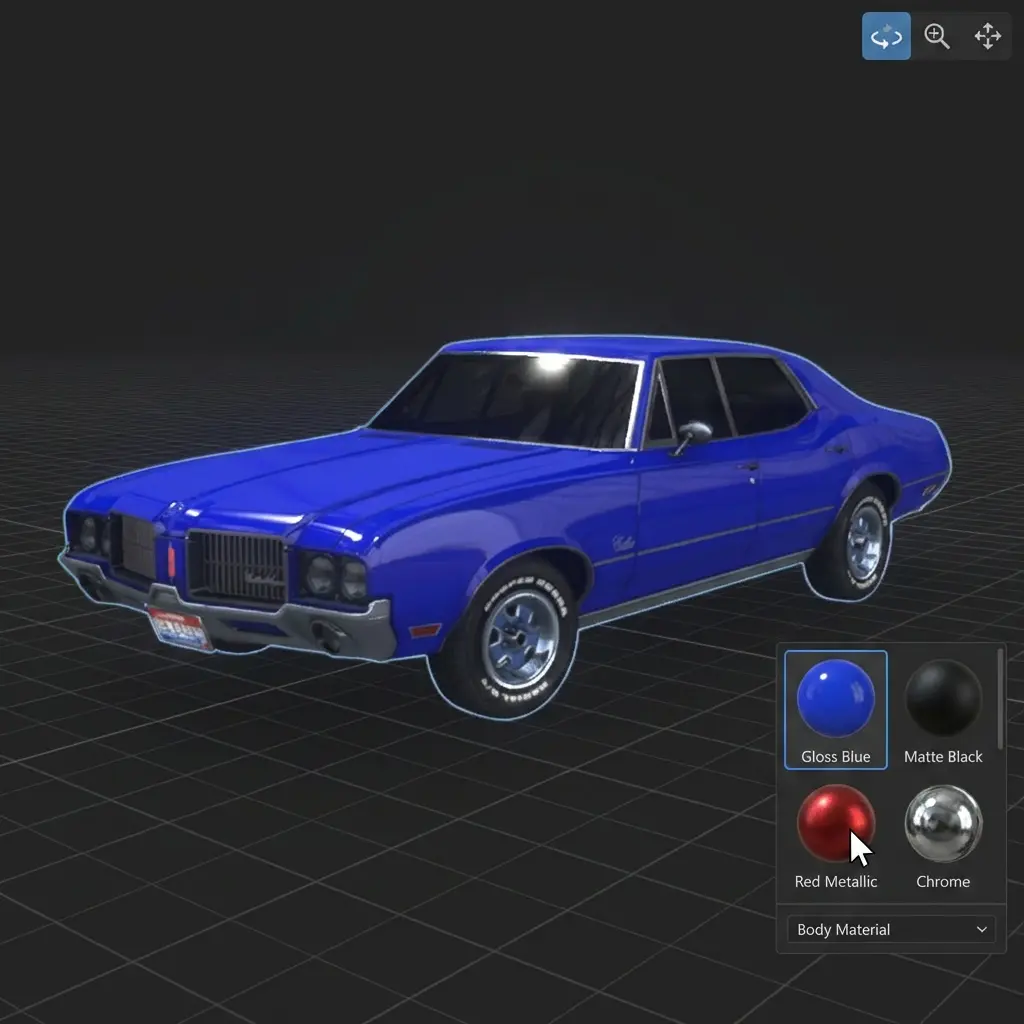
Drag Interaction lets visitors grab specific objects with cursor or touch — to move them around the scene or spin them around an axis. Useful for product demos, configurators, and educational content where the audience needs to manipulate the model.
How to open #
In Studio, switch to the Tools tab in the left panel and expand Drag Interaction.
Settings #
These toggles only affect playback for viewers — the Studio editor itself ignores them so you can keep arranging the scene normally. Use Preview mode to test how it feels.
If both Drag to Move and Drag to Rotate are on, hold Shift while dragging to switch from moving to rotating.
| Setting | Default | Description |
|---|---|---|
| Drag to Move | off | Visitors can grab objects and reposition them in the scene. |
| Drag to Rotate | off | Visitors can grab objects and spin them around an axis. |
Marking which objects are draggable #
When Drag to Move or Drag to Rotate is on, every parent object in the scene is draggable by default — no marking required.
If your scene has a single model, you can skip the rest of this section. Marking only matters when you want to be selective — pick specific models out of many, or only certain children inside a parent group.
In the Objects panel, right-click any object in the hierarchy and pick Mark as Draggable from the context menu.
After marking, a small blue dot appears next to the object name in the hierarchy — a quick visual cue for spotting which objects are draggable.
When you re-open the Drag Interaction panel, it now shows a Draggable objects list at the bottom with every marked item. Right-click any of them in the hierarchy to add more or remove existing ones.
Need something custom? #
Need axis constraints, snapping, custom drag behaviour, or integration with your own UI? Drop us a line at hello@trice3d.com or join our Discord and tell us what you need.