Capture sharp stills from your scene with a quick review-and-keep workflow. Buffer up to 6 snapshots in the panel without downloading anything, preview each in a lightbox, then save to disk or copy straight to clipboard. PNG, JPG, or WebP, transparent background, and custom crop with any aspect ratio you want.
How to capture #
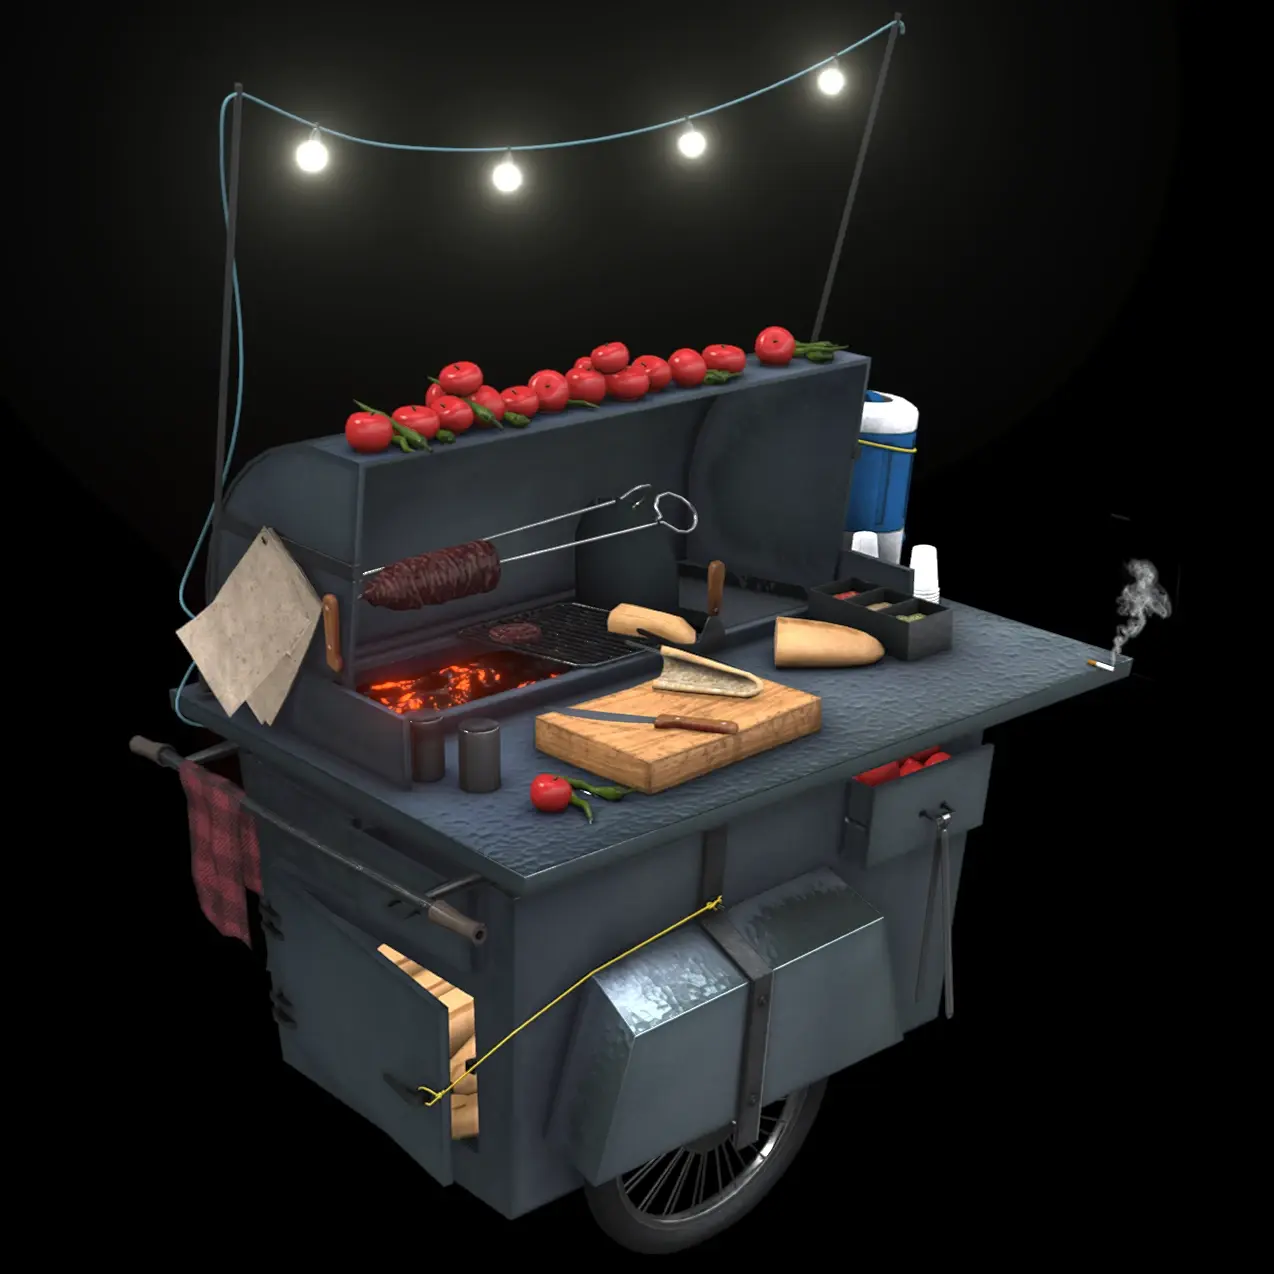
In Studio, switch to the Tools tab in the left panel and expand Image Export. Frame the view you want and click Capture. The snapshot is rendered and added to the captures list at the bottom of the panel.
Settings #
| Setting | Default | Description |
|---|---|---|
| Format | PNG | PNG (lossless, supports transparency), JPG (smallest, no transparency), or WebP (best balance, supports transparency and lossy compression). |
| Compression | 10% | For WebP. Higher percentage = stronger compression — smaller file, more visible artifacts. |
| Custom Crop | off | Enable when you want to capture only part of the canvas or use a specific aspect ratio. |
Captures buffer #
Take up to 6 snapshots in a row without downloading anything — capture different angles or settings, review them in the panel, then decide which ones to keep.
Click a thumbnail to open the lightbox preview, or use the icons on the thumbnail to download to disk or copy to clipboard.
Need something custom? #
Want your viewers to be able to save a render directly from your embedded scene? Or any other custom export behaviour — batch capture, watermarks, automated pipelines? Drop us a line at hello@trice3d.com or join our Discord and tell us what you need.